|
|
|
|
|
|
|
 |
 |
|
| Jim Donahue, Donahue Sign Arts, contact me at: (865) 360-4351
or email,
My_email
Another email
|
|
|
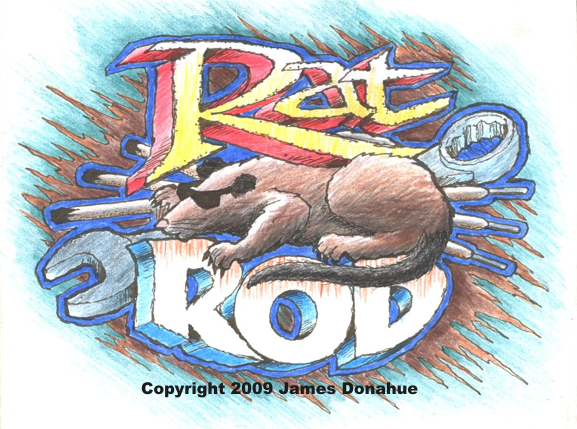
Hand Lettered Rat Rods
|
|
|
|
|
|
|
|
|
 |
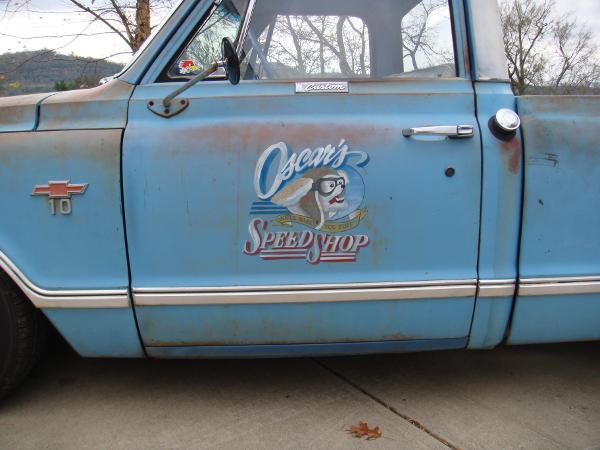
Now making his debut, it's Oscar the Dog! He hails from Woodbury Tennessee, one of the few canines around to have his visage adorn an old Chevy truck. This lettering is rendered with Imron urethane, and the same
NON-ABRASIVE
method described in the black truck project.
|
|
|
|
|
| Coca Cola wall restoration |
|
| Thanksgiving display |
|
| Free Christian vector clipart |
|
|
|
|
|
|
|
|
|
|
|
|
|
|
|
|
|
|
|
|
|
| Oscar's Speed Shop, Woodbury Tennessee. "We'll make you fly" |
|
|
|
|
|
 |
|
 |
|
|
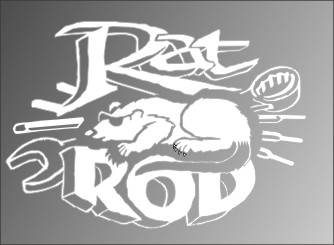
Above is a design I made, you can get it as a free vector file that can be taken to a sign shop, where they will cut a vinyl sticker for the back window of your ride. Have fun with your rat projects. |
|
|
|
 |
 |
|
I made a web page about this project, start to finish, with pictures, at another site. You can see it at this link:
1950 Chevrolet Truck
|
|
|
|
| Jim Donahue, Donahue Sign Arts, contact me at: (865)-360-4351 or email,
My email
|
|
|
|
|
|
Lettering a Rat Rod Truck door
|
|
|
|
|
|
|
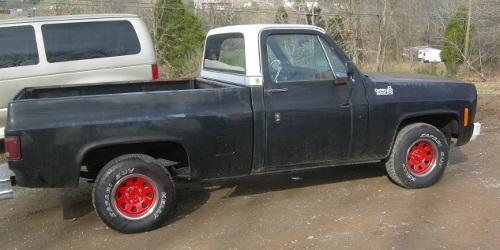
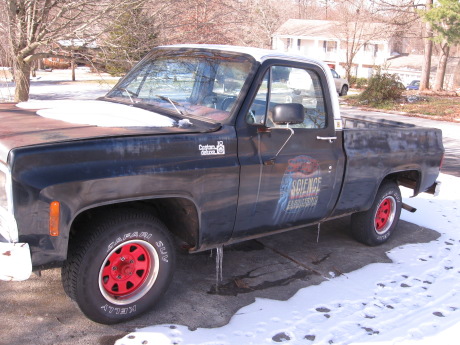
| I received a call from David in Maryville Tn. He said he was looking for someone who could do hand lettering on a truck. He had a "Rat Rod" he was working on for a friend that used to do science and engineeering. I had heard the term Rat before, used in regards to custom cars, but it was to denote the size of an engine (big block).
So I did a very little bit of online research. Apparently, the term Rat Rod started derisively, to indicate that a custom vehicle was a do it yourself project. Now it is a sect unto itself. Man, can I relate to this group. I drive a '78 Toyota pickup that I have customized myself, with only the materials at hand. Not to read too much into it, but I think there's a very workable philosophy therein about making the best of what you have.
Another thing,I thought window advertising was my favorite medium, but this is a blast in itself. Not that it's not quite a few hours of determined effort, but the freedom of expression is seldom rivaled. You know from the start the the project is about fun, and you can experiment more, knowing that you won't royaly toast a $5000 paint job, even if things don't go like you planned. In fact, any repairs or damages might fit in perfectly. For instance, if the masking I used for the circle had pulled up some background black body paint, well, put some rust colored paint in the hole, and...right on man! I look forward to doing more of these.
Jim Donahue, sign artist.
|
|
 |
|
|
|
|
|
The blank canvas, awaiting identity and fulfilment. |
|
|
 |
|
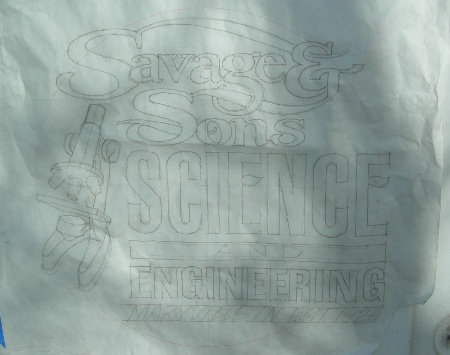
| I start the traditional way, with a hand drawn paper pounce pattern. A tool is used to make very small holes along all the lines. The pattern is positioned on the door with masking tape. Then I use an old sock half full of white talcum powder, or baby powder to rub over the lines. When I lift the paper, all the artwork shows on the door as white dotted lines. |
|
|
 |
|
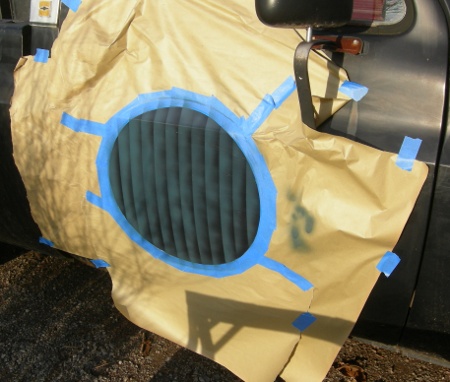
| Here I've masked off the circle for the Cape Cod blue. Hard to make it look old without it being too gray. Originally, I had hoped to do a solid circle with light pinstripes over that, but this was done late in December, so the slow dry times called for some creativity. So I found a piece of cardboard (Rat!) and made it comform to the body line on the door. I made light vertical lines with a carpenter's square, then moved the cardboard paint mask sideways for each line. The painting on this step was done with an airbrush. |
|
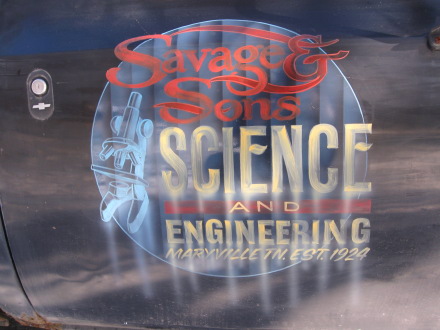 |
Here's the finished job. When most people do a faux old project, they paint it solid, then distress it afterward. I do no distress work, opting intead to find out the binder of the paint. Roughly speaking, paint is made of three parts: binder, pigment, and solvent. The binder is the clear sticky part, that dries. The pigment is what colors it, and the solvent thins it. I'm using alkyd (oil base) lettering enamel with a hardener additive. So, the binder is varnish. Normally, when I hand letter, I use one little cup with paint in it. For this faux old effect, I use two cups, one with paint, the other with clear binder. I alternate between the two. If you look at old hand lettering that's been left out in the sun, you'll see that a lot of the paint has faded almost completely away, but some places, where the sign painter first touched the brush onto the sign, or where the brush was more loaded, are still opaque. That's the goal of this method. Followed up with stain streaks below the letters, we now have a bona fide old looking sign project. If you're going to try this, take note of how a sign painter would have made his strokes, particularly the ones crossing ("cleaning up") the end of the strokes. Learn how to make muddy (tertiary) colors. |
|
 |
|
|
|
|
 |
|
|
|
Ready for driving! |
|
|
|
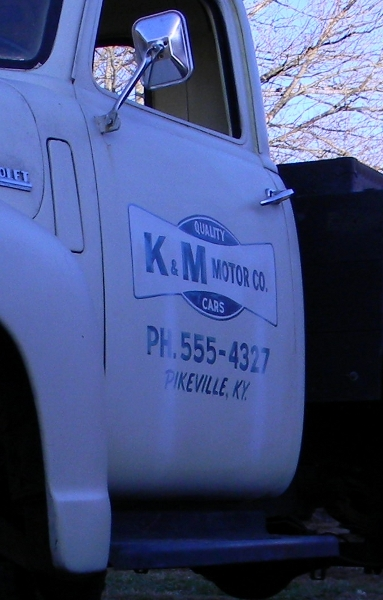
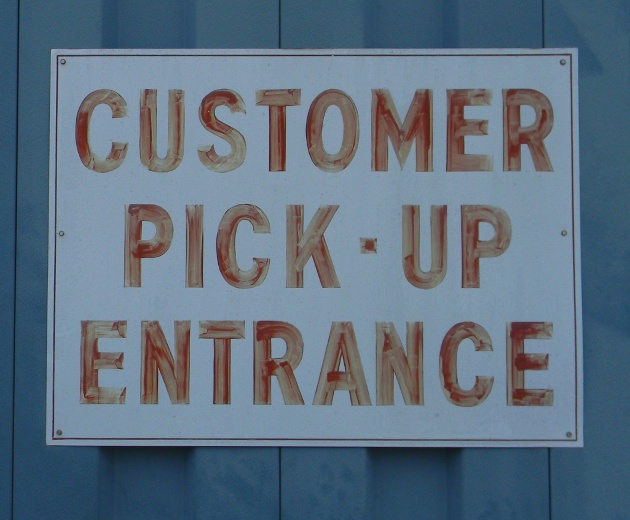
I took this picture of an old hand lettered sign to show the look I'm aiming for with my non abrasive method.
|
|
|
|
|
|
|
|
|
|
|
|
|
|
|
|
|
|
 |
|
|
|
|
|
|
|
|
|
|
|
|
|
|
|
|
|
|
|
|
|
|
|
|
|
|
|
|
|
|
|
|
|
|